#expand

take three breaths


Not only does healthy breathing give us needed oxygen, it settles our minds and gives us space from the inside out. Here are some other ways to expand the practice of how you think about your breath.


One way to think of the house of your lungs (your ribcage) is like a series of bucket handles. These handles attach to the spine on one side and your sternum and cartiladge on the other side. When you inhale the ribs move slightly out and upwards, like the bucket handle is swinging up towards the sky.  When you exhale, the ribs soften down and in towards your center.


The main movers that cause the ribs to make this motion is a group of muscles called your intercostals. The inner layer and outer layer make a cross stitch pattern. The inner layer is responsible for forced exhalation and the outer layer is responsible for opening the ribs and allowing for inhalation. When you breathe it is not only important to let your diaphragm move down (which makes your belly rise), but it is also important to allow your ribs to expand and release. When you don't allow this motion, you are not getting the most out of your breaths and are probably holding on to unnecessary tension.


Mind body practices such as Pilates and yoga incorporate many exercises that open, strengthen and enhance our breathing apparatus. Breathing is crucial to all of our underlying strength and stability. One thing we can do to show our whole, better self to the world is to take time to breathe and center ourselves so we can enter the world clearly and with care for ourselves and others.


Pema Chodron talks about a "pause practice" where you take a moment in your day (or multiple moments) to pause and take three mindful breaths. You can read more about that here


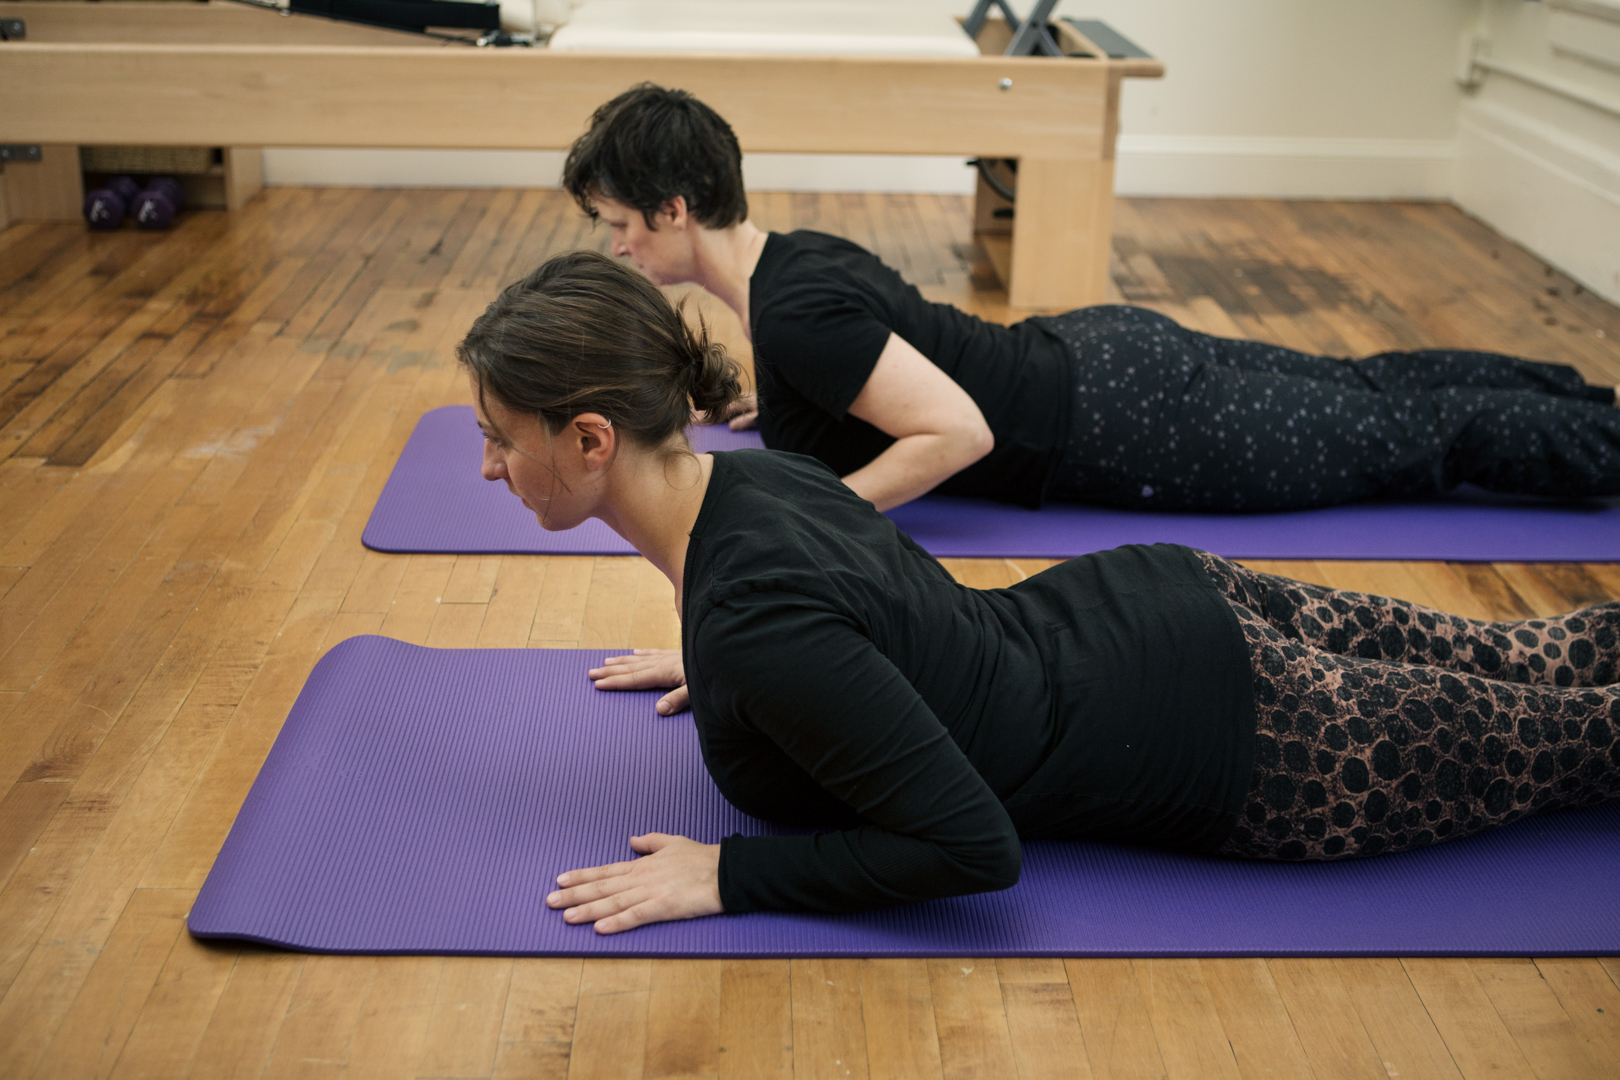
Here are some exercises to get you going. Happy breathing everyone!

This image shows how when looking from above, the rib resembles a bucket handle.

This image shows how when looking from above, the rib resembles a bucket handle.

You can see the intercostals in between the ribs running diagonally.

You can see the intercostals in between the ribs running diagonally.

Here you can see the relationship between the lung and the diaphragm and how the intercostals and ribcage lie right on top.

Here you can see the relationship between the lung and the diaphragm and how the intercostals and ribcage lie right on top.

The Clavicle

**

**

Your clavicles, or collar bones, are beautiful bones on either side of your sternum or breast bone. They use their wonderful double curves to connect your arms to your torso and help form your shoulder girdle. When we talk about the shoulder girdle we are referring to both clavicles and both scapula. Each clavicle connects to your sternum on the left and right at the sternoclavicular joint. The sternoclavicular joint provides the only connection between your quite complex shoulder girdle and your axial skeleton. 

Understanding how your clavicle is positioned and moves can greatly change your posture and your practice. These are the bridges from your arms to your center and are more articulate in movement than you might think. 

Not sure where yours are? They are easy to trace. Place your right hand on the notch of your sternum and trace this curvy bone out towards your left shoulder.


There's a lot in a name for this bone! Clavicle comes from the latin word for clavicula which means "key" or "little key". Your clavicle turns like a key at the sternoclavicular joint in relationship to how you are using your arms and shoulders. Your shoulder girdle floats on your rib cage like a collar floats around your neck. 

Interesting Facts to change the way you think about your collar bones:

1. We sometimes think of our collar bones as the top of our torso. In fact your first rib is above your collarbone. 

2. The clavicle is the first bone to begin the ossification process in the fetus and one of the last to finish ossifying. 

3.  It is the only bone that runs horizontal in the body. 

4. There are so many muscles, ligaments, and tendons that help make our shoulder girdle both articulate and stable. Here are some of the muscles you might know that attach directly on the clavicle: pectorals major, trapezius, sternocleidomastoid, deltoid, subclavius and sternohyoid!

5.  Birds that fly often and are not primarily ground dwelling have  particularly strong clavicles that are unified at the sternum into one bone. This creates a strong rebound up in the wings when flying and creates resistance in the flap down making the whole motion more effective. Other animals that rely on running fast have no collar bones at all!

** "Left clavicle - close-up - animation" by Anatomography - en:Anatomography (setting page of this image). Licensed under CC BY-SA 2.1 jp via Commons - https://commons.wikimedia.org/wiki/File:Left_clavicle_-_close-up_-_animation.gif#/media/File:Left_clavicle_-_close-up_-_animation.gif


The Other Traps

We all know about our upper traps, those muscles at the top of the neck that get really tight from holding tension, a heavy grocery bag or a purse. The Trapezius muscle is so much more than this headache monster. It is shaped like a trapezoid (which is cool) and attaches to the back of your head, your shoulder blades, the outsides of your shoulders, your collar bones and down all of the spinous processes of your neck and thoracic spine! The upper fibers have the ability to give us a neck ache, but middle and lower fibers work to help healthy shoulder function (phew, at least it does something right).

The middle fibers of the trap draw the scapula in towards the spine. The lower fibers of the trap draw your shoulder blades down the back and also (with the help of our friend serratus anterior) assist upward rotation of the shoulder blades (this happens when you lift your arms up above shoulder level). They do this by pulling the inner corners of your shoulder blades down, which causes the bottom corners to open out to the side. It's like pulling a triangle by one of its points -- the pull makes the triangle spin! 

The mid and lower traps should engage well when you are performing upper back extension exercises. They help bring the shoulder blades onto the back of your ribcage and open the front of your chest. Having balance in your trapezius recruitment helps reduce the possibility of over recruiting your latissimus dorsi, thus unlocking potential for more fluid length and connection in your torso and lovely shoulder mechanics.


Use this knowledge to utilize those mid and lower traps when doing our at home Extension Series Exercises!

Shorty Swan just loves to teach people about the bones and muscles of the body. Check out all of his lessons!


Expand with this extension series

Need to open your chest and strengthen your upper back? Stabilize your shoulder girdle and extend your spine? This series is for you! You will need a roller, overball or bolster. Remember to listen to your body while you work and move in a range that feels comfortable and pain free. Familiarize yourself with some of the muscles you are about to engage and understand flexion vs. extension when you read the rest of our Extension series


Cactus Variations

Lets start with a chest and shoulder opening stretch to prep your front body before moving into extension. Lie on your back with your spine in neutral. Knees can be bent or straight. Place your arms even with your shoulders and bend your elbows to a 90 degree angle. Take a few deep breaths here. Let your arms rest into gravity. This can also be done on a roller for more of a stretch. 


Variation One

When you feel ready begin to move your arms overhead bringing, your finger tips together overhead. Maintain the 90 degree bend in your elbows as you move. Return your arms to your cactus start position. Continue to breath deeply and move slowly. Repeat 4 times. 


Variation Two

Return to your original cactus position, elbows even with your shoulders. Keep your elbow on the floor and bent to 90 degrees. Start to rotate your upper arm so your finger tips point towards the ceiling and your forearms come off the floor. Continue rotating until your fingertips point down towards the tops of your feet. Reach out through your elbow points into width as you move. Return your arms to cactus. Repeat 4 times. 

Arching Over

Start by placing the ball, roller or bolster under the middle of your ribcage, right around the bottom tips of your shoulder blades. Bend your knees, feet flat on the mat with hands behind your head for support. With a long neck extend over the prop and feel your ribs fan open. Take an inhale in extension. On your exhale come back up towards neutral a bit. Inhale and return to extension. Repeat 5-10 times.


Flexion and Extension in Sphinx


Set up in sphinx position with your elbows under your shoulders, forearms parallel to each other, palms wide on the mat and legs long and connected. 


Keeping your legs long and reaching back, exhale and round your spine into flexion. Draw your abdominals in towards your spine and maintain width through your collar bones and shoulder girdle. 


Reaching out through your head and tail, inhale your spine into extension. Continue to maintain width and space in your shoulder girdle and spin your collar bones up towards the ceiling. 


Flight

This exercise has four steps. Take your time to complete each one carefully. Start lying down on your abdominals, legs long and connected underneath you, arms long by your side and a towel underneath your forehead for comfort. Keep the tops of your feet resting on the floor for the entire exercise. 

1. Start by noticing your shoulder blades naturally rounding forward over your ribcage and resting toward the floor. On an exhale open you collar bones away from the floor and feel your scapula engage onto the back of your ribs. 

2. Extend through the pinky line of your arms, feeling how your arms connect to the bottom tip of your scapula. Take care not to pull your shoulders aggressively down your back. Look for space and connectedness instead. 

3. Float your arms off of the floor until they are right beside your side seems with your palms facing in towards the center line of your body. Check in with your shoulder blades and collar bones to ensure they did not loose their width or start to roll forward. 

4. On an exhale draw your abdominal wall towards your spine and lengthen through the crown of your head so much that you bring your forehead one centimeter off the towel. There are no wrinkles in the back of your neck and you should feel connected through the center line of your torso from head to tail, as well as through the width of your shoulder girdle and mid back. 

Relax everything to the floor, allowing your shoulders to round forward. Repeat 10 times. For a variation, rotate your palms toward the floor and then the ceiling after Step 4. You can also add 1lb weights to this.

Kristen is in Step 4. of Flight. Notice the length and support through her torso and the space in the shoulder girdle. 

Kristen is in Step 4. of Flight. Notice the length and support through her torso and the space in the shoulder girdle. 

T is for Traps. 

Continue to lie on your abdominals with your forehead resting on the towel. Legs are long and connected underneath you and your arms extend out to a T level with your shoulder sockets .Flip your palms up, pointing your thumbs towards the ceiling and resting the pinky blade of your hand on the floor. 

Start by drawing your abdominal wall up away from the floor for support and then begin to reach out through your arms trying to increase your wing span. Continue reaching out as you float your arms up off the floor. You are looking to find equal parts up and out in the work in your arms and across your back. Return your arms to the floor but keep the stabilization through your torso. Repeat 12 times.

On your 12th one lift and hold and draw small circles. Circle 6 times in each direction, continuing to expand across the width of your chest and back.

Relax. To take a brief counter stretch before the next exercise, curl into child's pose. 

SWAN!

Lying on your abdominals, place your hands underneath your shoulders with your elbows in towards your body. Find a strong connection between the heel of your hand and the mat both on the pink finger and the thumb side. Draw your abdominal wall away from the floor.

Start by floating your head up in line with your spine. Connect to the length of your center line. 

Then extend forward through the crown of your head, arching your back up into extension while reaching long through your legs and pelvis. Keep your low belly drawing your hip points toward one another and resist collapsing into your lumbar spine. Check for no wrinkles in the back of your neck. Use the support of your arms as you need. You will feel your front ribs expand and your heart opening forward. 

Roll down and return your forehead to the mat. For an extra challenge pause half way to the mat in your roll down and lift your hands off the mat. Hold for a breath and then return your torso to the mat with your hands hovering. 

At the end of this series you should feel connected and open! Check out all of our at-home exercise instructions for a happier, healthier life!


How do you arch your back?

What is an arch anyways? A lot of us think about an arch like the shape of a Halloween cat or an architectural archway. However, when we are talking about arching the body in movement, this is not exactly correct!  


Back extension is when we arch our head and tail towards one another behind us, opening our front body. When you hear the word arch as a cue in Pilates it means extend your spine!. 

sshokrae_swanfall14-22-Edit.jpg

Spinal Flexion is when we round our head and tail forward toward one another, closing off the front body and opening the back of the spine. This is actually your halloween cat shape.  The Halloween cat flexes it's spine to protect it's belly and let out a hiss. 

sshokrae_swanfall14-20.jpg

Neutral is a place between those two extremes. Neutral is not a flat back.  Neutral doesn't diminish any natural curves in your back, but instead honors your curves while you lengthen your spine into the sky.  

Your turn!

Rotator Cuff Breakdown

We use our rotator cuffs all the time in Pilates, in each movement of our arm. Let's learn about the muscles that make it up and their function! Our rotator cuff is often spoken about as a singular piece, as in "a rotator cuff tear". Actually, the rotator cuff is made of four muscles and their tendons. Together they stabilize our glenohumeral joint, articulate the humerus and play a role in scapular movement. Individually they are called subscapularis, supraspinatis, infraspinatis and teres minor. 

Let's start deep with the subscapularis. The subscapularis runs along the anterior border of the scapula (meaning the side of your scapula that sits on your rib cage) and attaches to the lesser tubercle of the humerus. The subscap medially rotates the upper arm. You might think of this as internal rotation of your upper arm, when your elbow fold looks in towards your center line. 


supraspinatus.jpg

Supraspinatus starts at the supraspinous fossa of the scapula and slides under the acromioclavicular joint, inserting on the highest part of the greater tubercle of the humerus. The supraspinatus has two main functions, to help hold and stabliize the humeral head in the socket or glenoid fossa and abduction of the humerus for the first 30 degrees. Above 30 degrees of abduction your deltoid takes over. Abduction in the joint occurs when you move your arm out to the side away from your body. 


Infraspinatus originates from the infraspinous fossa on the scapula and inserts on the greater tubercle of the humerus. The insertion for the infraspinatus on the humerus is behind and below the supraspinatus. The infraspinatus laterally rotates your humerus and assists in abduction (described above). You might think of lateral rotation as external rotation or when you turn the fold of your elbow away, looking out from your center line. 

The teres minor originates from the lateral border of the scapula and inserts on the head of the humerus just below the infraspinatus.  Teres minor also laterally rotates your humerus. 


Learn more from the anatomy expert, Shorty Swan!

Learn more from the anatomy expert, Shorty Swan!

When you take a moment to consider the direction and attachments of these four muscles you can easily understand their role in holding your humerus steady during many movements. 

#expand into extension

Extension is an important function and movement available in each joint of your body. It is the opposite of flexion. Fundamentally, it means a movement that increases the angle between two body parts or moves a joint in the direction of straightening. While we won't cover how all joints move into extension this month, we will inspire you to learn more about some of the muscles that move your upper body into extension, give you a sweet short series for your home practice and help you understand the difference between flexion and extension in your spine!


Outside of your body, extension can also mean:

expansion, increase, enlargement, widening, broadening, deepening; augmentation, enhancement, development, growth, continuation.